2019 March & April
(Aerial Photos -- Pool Gone --
Deck Expansion) Aerial Photos
For most of my photo essays I've documented our home improvement construction projects.
2019 has been no different but first let me show you an aerial photo of our place as it looked
on Easter Sunday this year (April 21st).
Our son-in-law, Israel, got a new drone with a great little camera. It's not the most expensive
drone made but it's a very good one. I've been really eager to have good aerial photos of our
place. Anyone can create a screen capture from the satellite view taken from Google Maps.
That's what I've used in the past. But those are taken from outer space. I wanted an aerial
photo with better detail. Israel generously came over to the house and took these photos.
Here's a view from slightly above the front lawn.
Here's a view from overhead.
Finally, here's a view from high overhead of the whole property showing our 2 acres. I mentally
divide our place into 3 sections:
- Our
front lawn and the house.
- Our
deck & fenced back yard.
- The
part I call our 'back acre.'
Pool Gone
We had the pool installed in 2014. You can CLICK HERE if you want to see photos from when
it was first installed. We enjoyed the pool for 5 years. That's about as long as a pool liner will
last, unfortunately. Ours was leaking and we were debating about the $1,500 it costs to buy a
new liner. At the same time, we were feeling the crunch of the pool chemicals which were then
costing us more and more. Add to that the cost of electricity to opererate the pool.
We decided it was time to get rid of the pool. We enjoyed it while it lasted but it was now too
expensive to keep. We gave it to our son-in-law, Israel. He will purchase a new pool liner and
install the pool at his home near Atlanta.
Here's what the pool and deck looked like before he removed it:
And here's what it looked like afterward:
As you can see, the part of our deck closest to the pool was built in 3 levels. The lowest of these
3 leves was a 'split-level' step up above the rest of the deck. The next level was the part on the
left in the above photo. It was just a small step. The 3rd and highest level was a ramp to enter
the pool.
Now with the pool gone, the deck looked pretty useless built in a semi-circle surrounding a pool
that's no longer there. This needed to be removed. As far as the circle of sand in the foreground,
Linda suggested we build a patio there where the pool was.
That idea didn't stick. Now we're thinking of planting a flower garden where the pool was but the
raised part of the deck definitely had to go. We could re-use the old lumber, add a bit to it, and
extend the deck another 10 feet.
The project has been underway now for about a month. Old age, chronic fatigue syndrome, and
unfavorable weather among other things have delayed us but we're making headway. I work 5
minutes, rest 10 minutes, and slowly get the project done. Here's my progress report.
The Demo
Refer to the above photo. The part on the left is what I call the 'raised deck.' The part on the
right is semi-circle that partially surrounded the pool. I constructed these two parts by building
them off a rectangular part beneath and behind them which I call the lowest tier of the raised deck.
It's confusing but maybe you'll get the picture. Here's photo with the highest tier gone.

This photo shows a closeup of the semi-circle part. It shows how I did the joists beneath the deck boards.
This photo is showing the same thing a littler farther away so you can better see how this part of the
raised deck fit around the pool. If you look closely, the part of the deck to the left is a step down.
That's why I refer to the part of the deck in the foreground as the 'raised deck.'

Here's yet another view of the same part of the raised deck. Each of these deck boards sticking out
had to be removed before I could get to the joists underneath. Problem was, the deck screws that
held them in place kept breaking off and each had 10 or 12 screws in them.
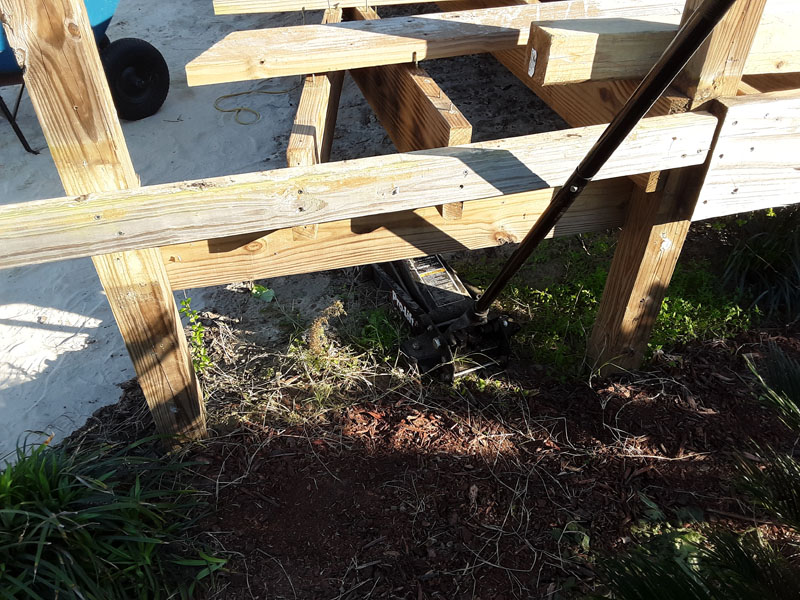
I had to deal with these broken screws one at a time. Some I could cut with my recip saw with a
hacksaw blade but many were where I couldn't get to them that way. I had to use a crowbar on
those. Even then, the broken screws held the board so fast, I had to come up with a plan.

My final solution for those stubborn screws was to use a car jack. It was a slow process but it worked!
Here's a photo of the car jack in place. Some boards popped right up. Others only loosened and I still
had to beat on them with a crowbar and sledge hammer to get them off.

Here's a video I created. You'll hear two 'pops' or 'bangs.' The first bang is a single deck screw turning loose.
Listen for the second 'bang' or 'pop' as you see the board suddenly shift to the left. That's when the remaining
deck screws popped loose.
Finally we were done with all those stubborn deck boards. After that, the joists were a piece of cake.
Here's a photo of Linda sitting in the space formerly occupied by the raised deck which is now gone.
After the raised deck was completely gone, I was able to rebuild without the need of raising the deck up to
the level of the pool. This extended part of the deck could now be all on the same level.
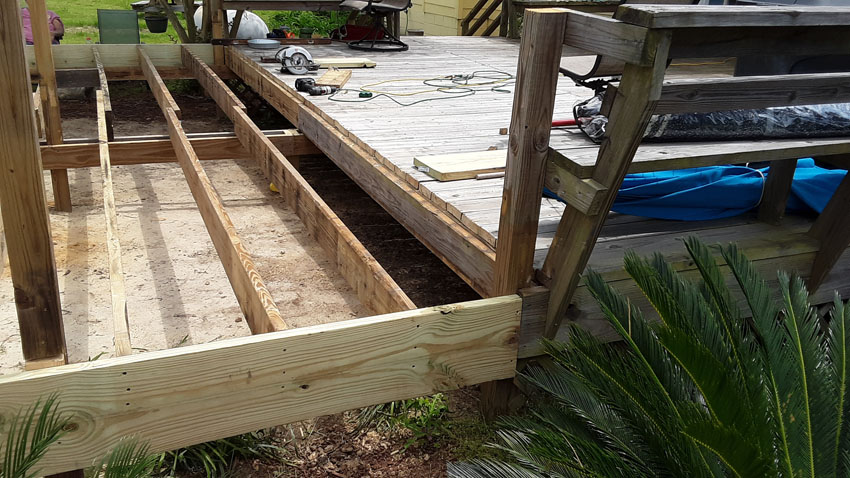
Here's another view of the joists for the deck extension. If you compare it with the photo (above) taken
right after the pool was removed, you'll see also that the pool fence, pool gate, and latice siding are gone
as well. Once the deck is completed, we'll put some of that lattice panel back to complete the job.

Here's the last photo (for now). These deck boards will weather and eventually look the same as the
old ones. We had topsoil hauled in. We're considering planting a flower garden where
the pool was. After the deck is finished, we'll have steps leading down to the flower garden and maybe
a path through it with pavers. Should look pretty nice once the dirt part is finished.

~ After Mothers Day - Update ! ~
Here's what the deck looks like now that it's finished and furnished.
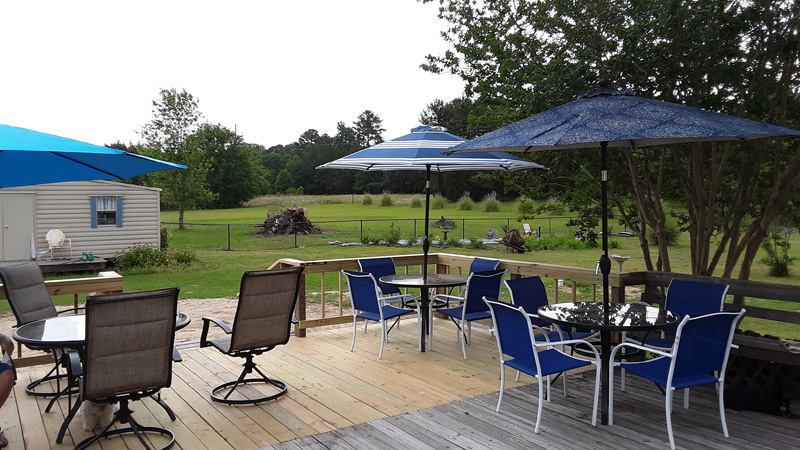
Here's another view looking toward the house. You can see a bit of the fill dirt in the foreground that we
had hauled in to cover the sand and fill up where the above-ground pool was removed.
The deck is roughly 20 x 30. There are two tables with umbrellas and one that has a floating umbrella.
The floating (or flying?) umbrella is in the blue one in the corner closest to you.
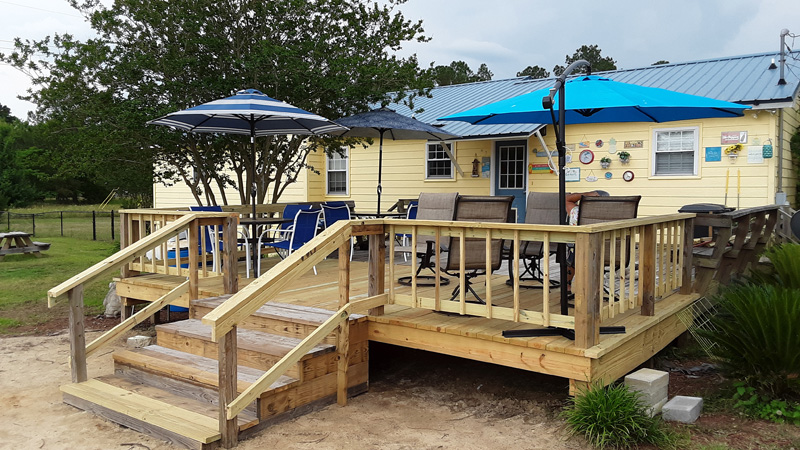
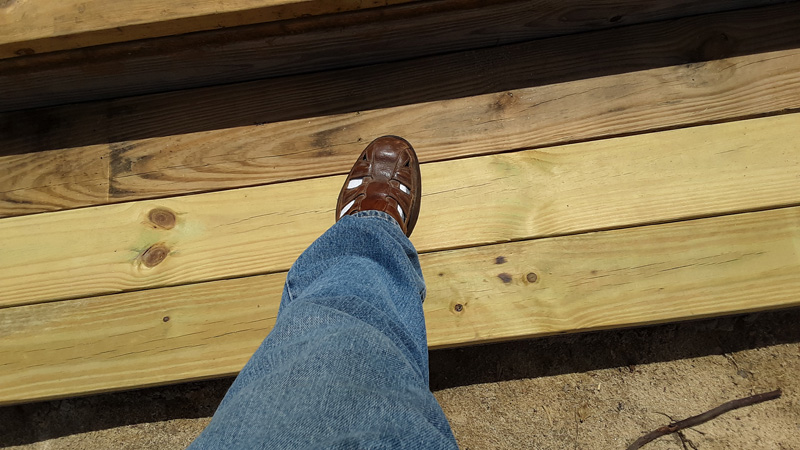
One friend asked me about the steps. They're wide a low -- three 2x6s. I have a large (size 10-1/2)
foot but my big feet fit nicely on the large steps. We built them this way for Patches, our dog, but as
luck would have it, he's frightened of the new steps and won't have anything to do with them!
As I mentioned on Facebook, we worked on the deck for 2 months in preparation for a Low Country Boil
for Mothers Day. We had the Low Country Boil but the rain kept us off the deck. We were forced to have
it on the front porch instead. It was crowded but it worked. Only about a dozen people showed up.
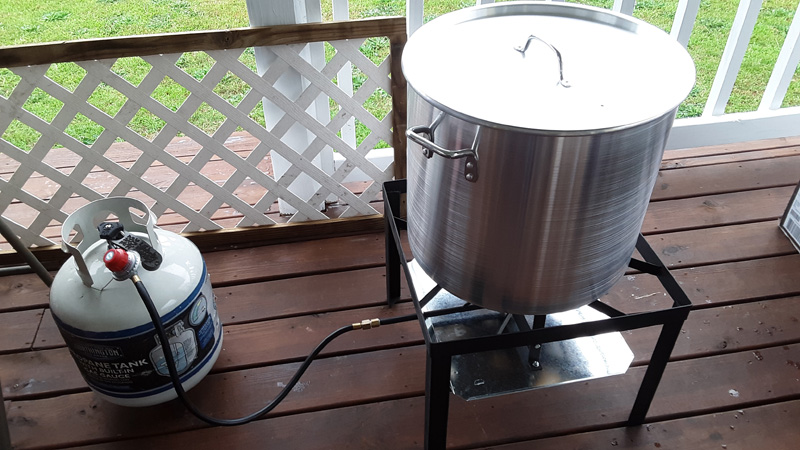
For those who don't know what Low Country Boil is, here it is: corn, 'taters, shrimp, and sausage
(for those of us who don't eat shellfish). Mmm-mmm, good! You traditionally dump it onto newspaper
and eat it with your fingers but we were forced to eat inside so we used beach towels to dump it on
and ate off paper plates instead. We had Key Lime cake, Italian Cream cake, and pecan pie for desert.

Here's a photo of two of our newest great-grands and their mommies who came to our Mothers Day party.
Today (2019-05-15) we got started on our next project. We had our Boxwood hedges removed from
in front of the house. They were covering the windows and are just too high maintenance for us. Linda
is thinking of replacing them with Sega Palms. I like that idea (no matinenance)!
~ END ~