2014-05-07 Pool Install Day-2
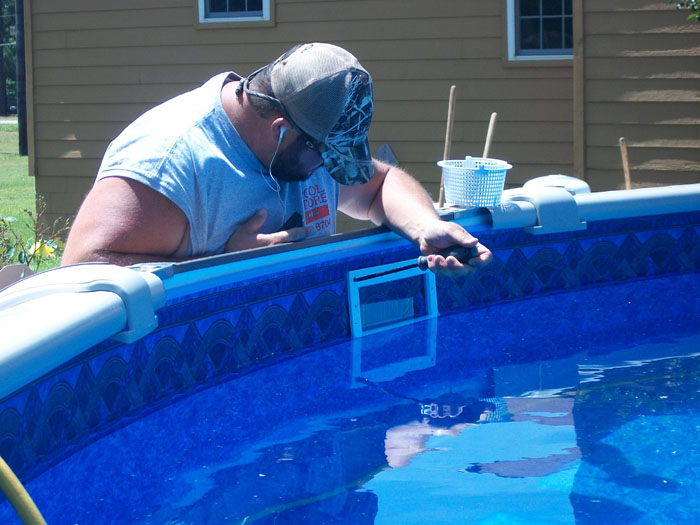
It took less than a day to fill the pool then it was ready to install the skimmer, the rest of the plumbing, and check for leaks.
A rectangular frame like the one shown here goes on the inside as well as the outside.
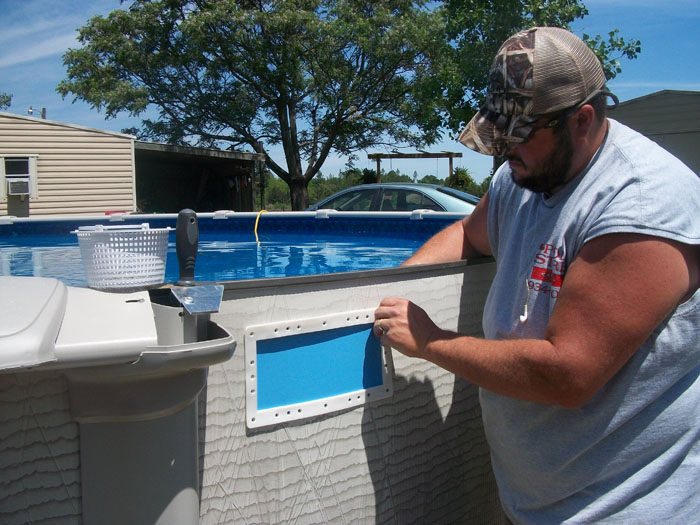
Once the frame is installed, the skimmer can be mounted.
Screws for the skimmer are tightened then the liner can be cut out inside the frame.
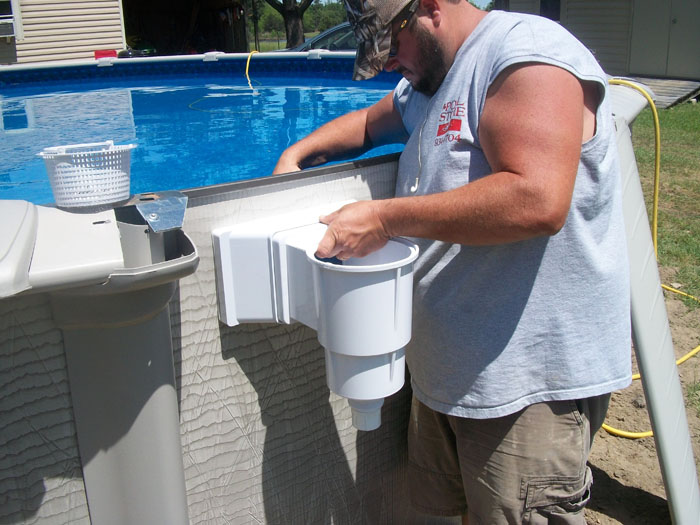
Fittings for the inlet can be mounted next. This is connected to the pump output. As water comes through here under pressure, it creates a swirling motion on the surface of the pool. Any leaves, trash, or insects that get caught in this swirling motion eventually make their way back to the skimmer (at the left of this picture) and are swept into the strainer basket for later removal. This system works like a charm.
The plumbing is glued together.

Good. That part is complete.

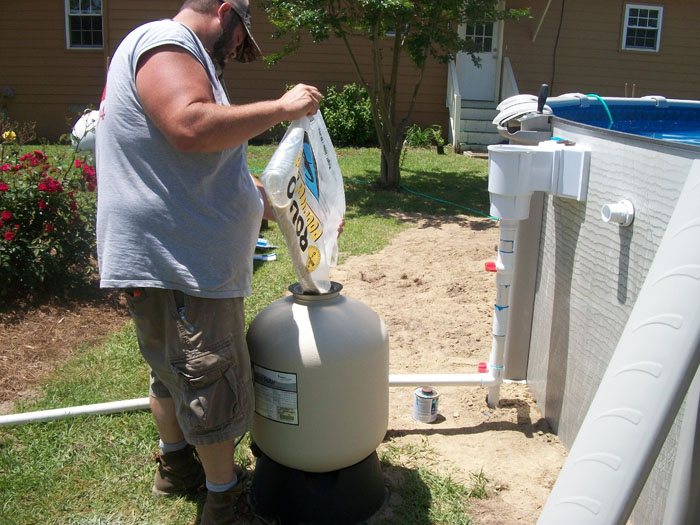
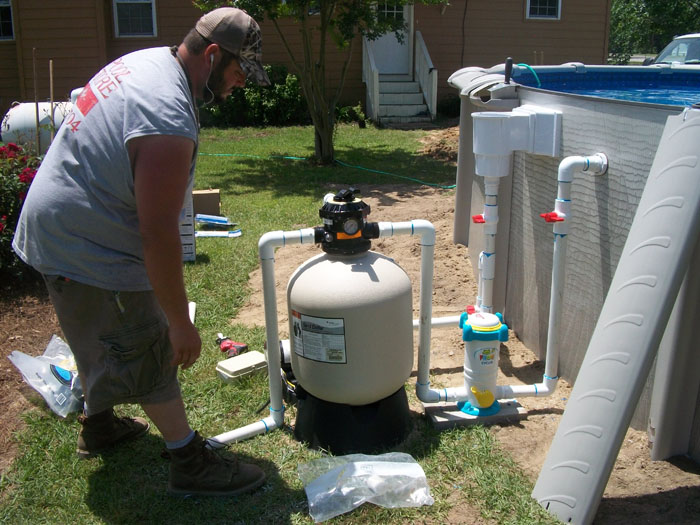
The sand filter is filled with sand.
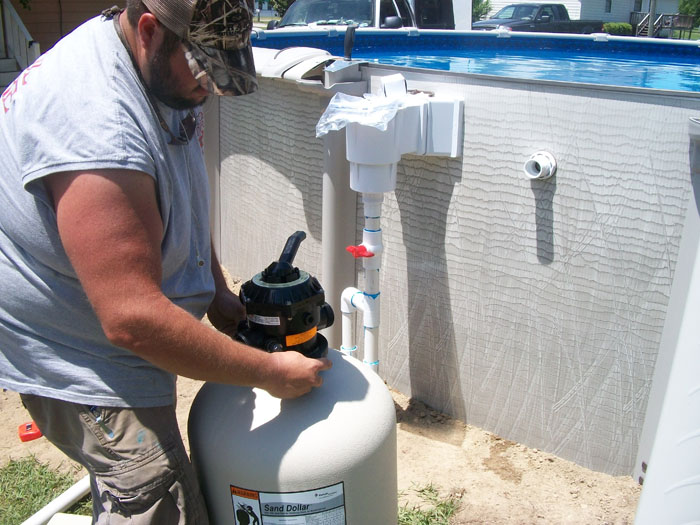
Next, the manifold valve is installed.
Last, the pump is plumbed and connected.
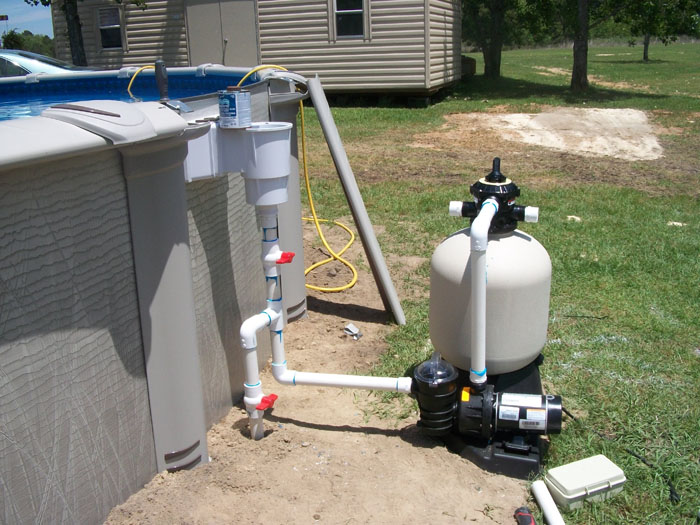
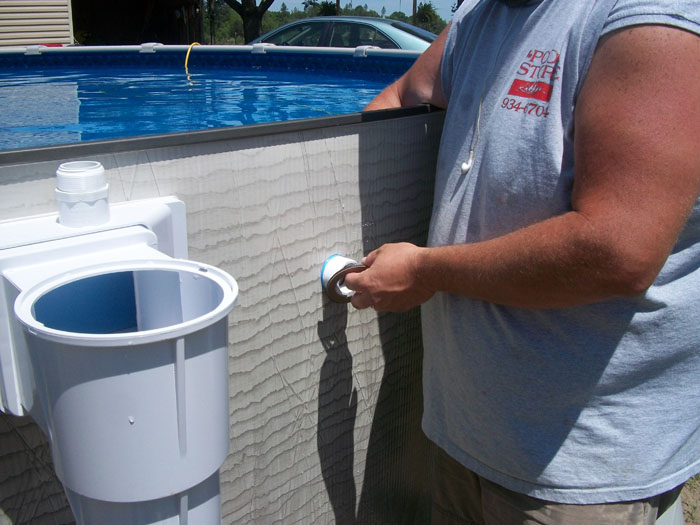
Coming from the pump and sand filter is the cleaned water that's pumped back into the pool. But water won't stay clean. The skimmer and strainers take care of the big stuff. The sand filter removes the smaller stuff and dirt. That leaves the microscopic stuff to be removed with chemicals. The chemicals, mostly chlorine, come from the "Frog" this uniquie little thing with the blue cover. This is a low maintenance system, just need to replace a cartridge once every 10 to 14 days and add an additionial pack every 90 days.
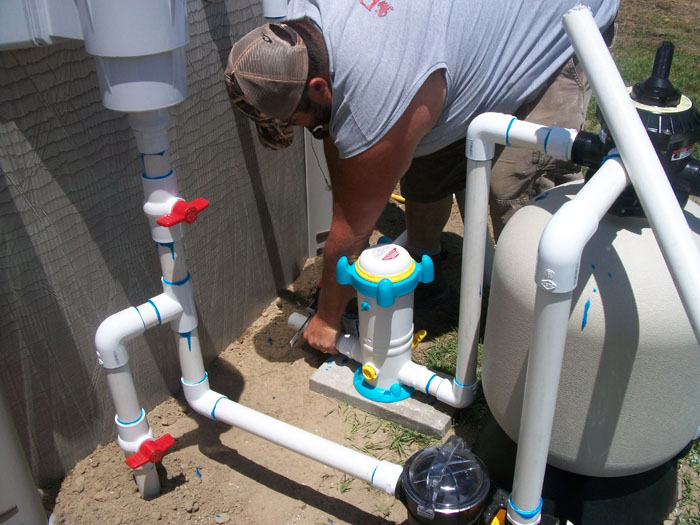
The discharge line is installed. I was told to give the Pool Store a call once the electrical was done.
Please press your browser's back button then click the links for more.
~ END ~