2014-06-07 Deck Day-6 -- Seating
Linda and I were gonna install bannisters around the deck. When we disussed it with Mike Thigpen, he said,"Why don't you put seating instead." When I asked what he meant he said, "Go see the bishop's deck I built
for him." I did and took photos. Our bishop lives on the next street over.
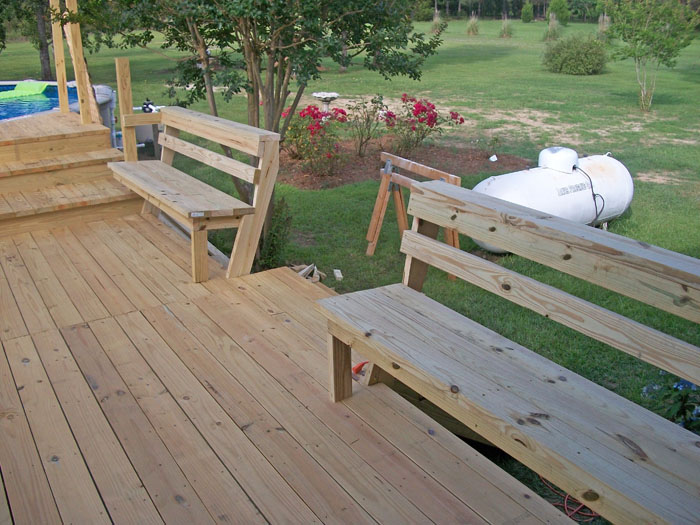
When Mike came to finish some electrical work he brought his whole crew. He called ahead for me to get
material. They built seating on one side of the deck just to show me how. It's great to have friends like that.
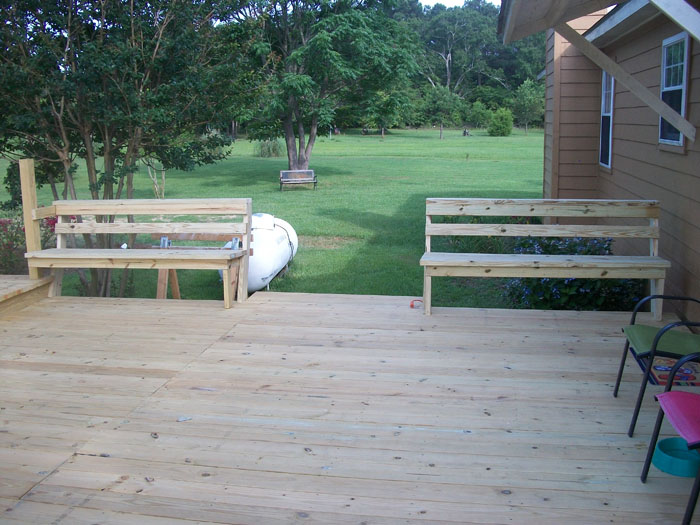
After watching Mike's crew do it, I was able to build the other side by myself following the pattern they left for me.
These two seats I built may not be perfect but they look pretty good and they're solid.
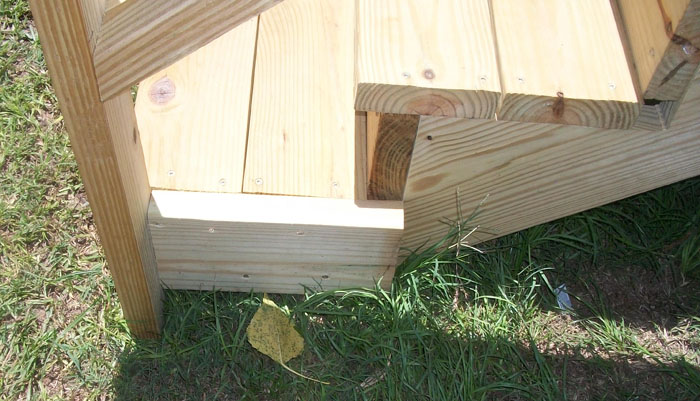
Most pieces for the seating are just cut-to-fit lumber. The key piece is the odd looking end.
For that piece I needed a pattern which Mike gave me. I was surprised how sturdy these benches are.
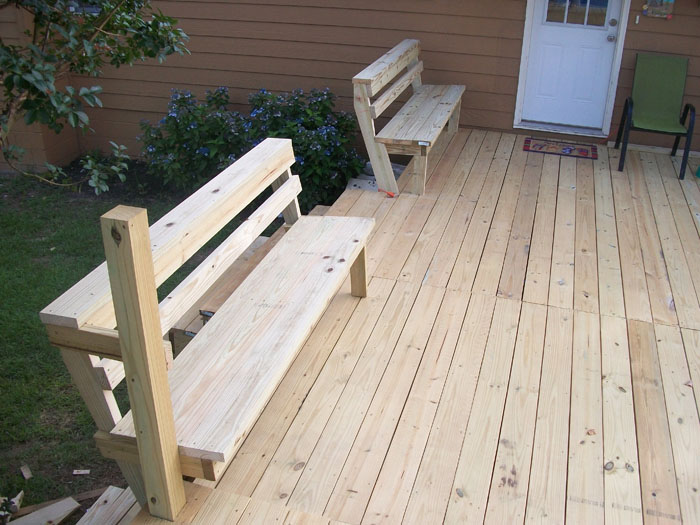
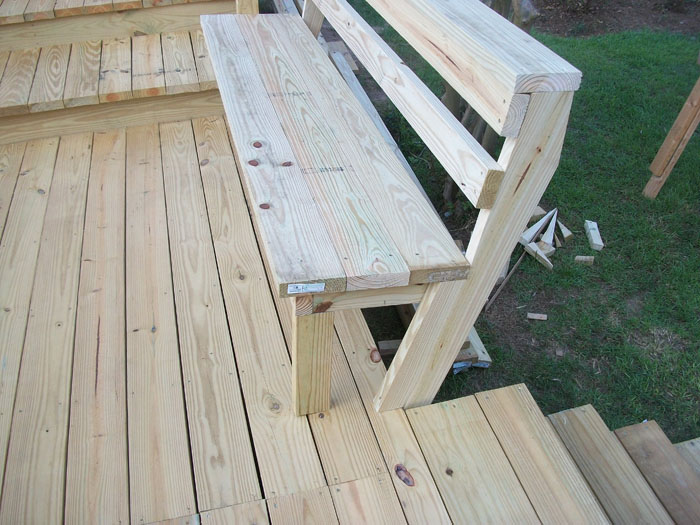
Here's what the key piece looks like from another view. It provides the seat angle while 2" X 4"s provide support below and in front.

Here are the 2" X 4" supports. Notice the slight angle cuts. For you guys, think of the engineering. I was
worried how well they'd resist a force on the seat back, say for instance if two teens were horse playing and
slammed into it.
Because of the fulcrum point where it makes contact with the deck, any such force would have to rip the
toe-nailed screws straight up out of the deck. Stair rails and other bracing add to the strength.

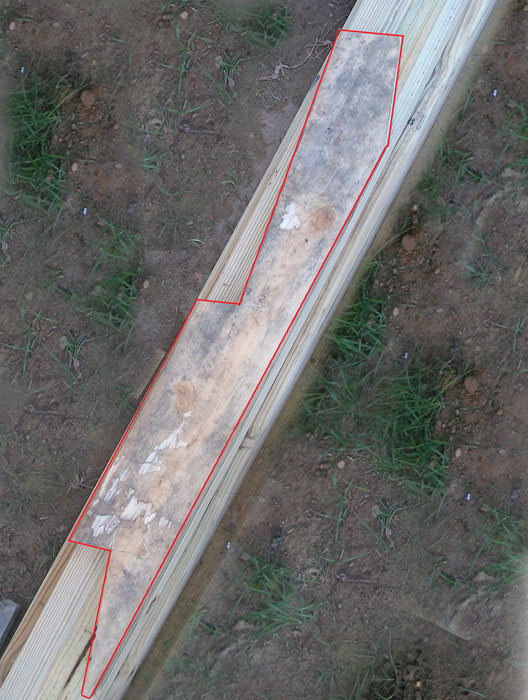
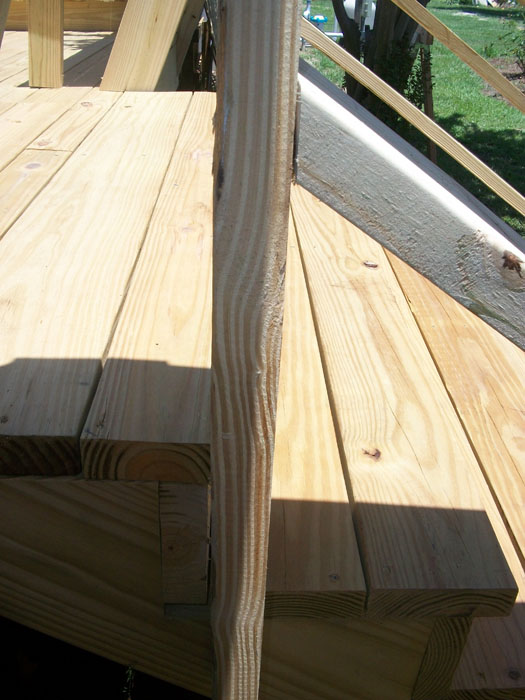
Here's the pattern laid atop a 2" X 6". I outlined it in red for visibility.
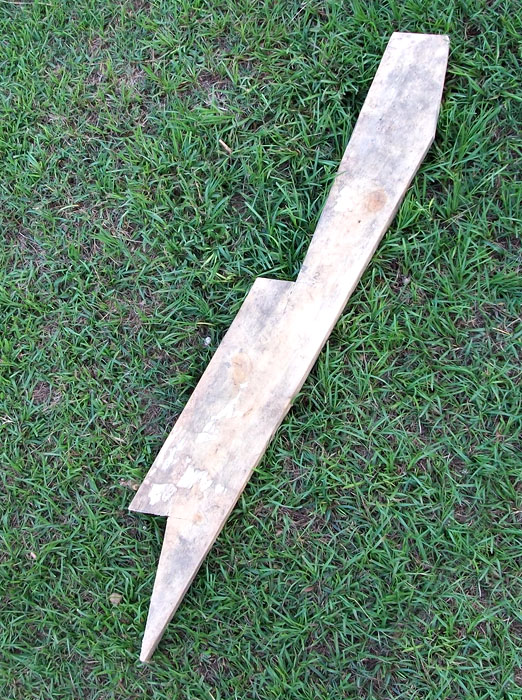
Here's what the same pattern looks like laying alone.
And here's what it looks like in use. Pretty cool, eh?
Finally, I could build the handrails. I've never built a deck or handrails. When I built my front steps
my son-in-law built the handrails. I asked Mike Thigpen how to build them. He said he had discovered
over the years that a 35 degree angle works best. He said to place the rails 32 inches high. I used these
measurements as a starting point and was amazed how accurate they were.
I didn't have posts at the base of my steps so I used my bishop's deck as an example.
His steps had a little block and 2" X 4" end posts like this.
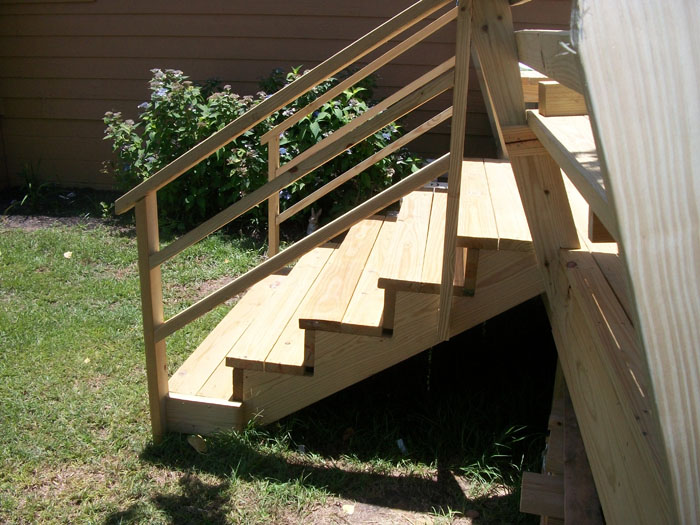
Here's that 35 degree angle Mike mentioned. It worked out perfectly.
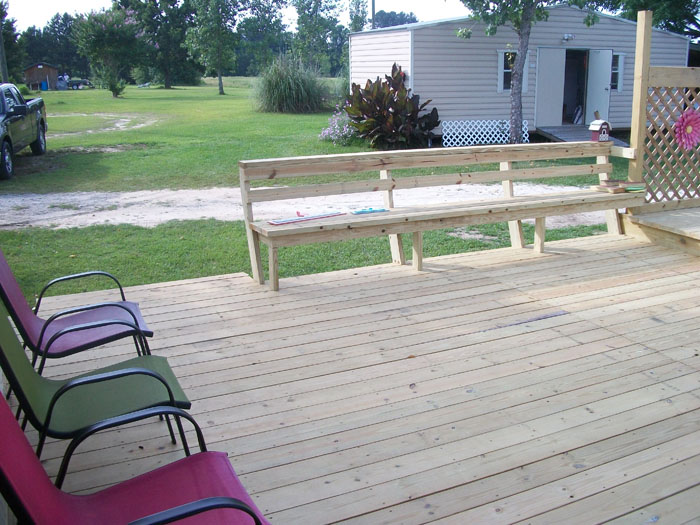
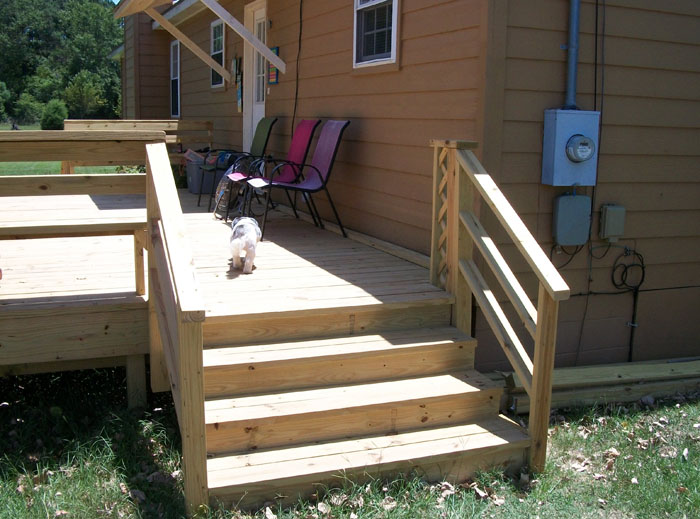
The front steps only had seating on one side. I had to create a little bannister on the other to attach
the rail to. I decided on 2" X 4"s with a small 2" X 6" top rail and filled with lattace panel. Linda and I
were both surprised how nice it turned out. That's it to the right of the steps in the photo below. I used a
router to round all edges and sanded everything smooth. Looks we were too busy to cut the grass, doesn't it?
Please press your browser's back button then click the links for more.
~ END ~