2014-05-12 Pool Deck Day-1 -- Framing
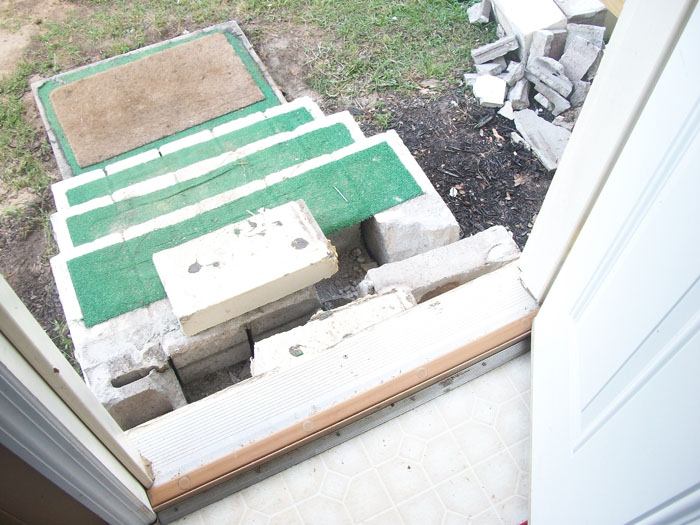
Here's what the rear entrance to the house looked like before we began building the deck. The main thingsto notice are the cinder block steps and wooden handrails which all had to come out. The flood lamps by the
door were moved to the end of the house. The deteriorating siding was replaced and repainted.
A water damaged sill was replaced.
Linda had to move all her day lillies I bought her for her birthday a couple years ago.
They are shown in this photo on the right.

It all began by removing the wooden rails and tearing out the cinder block steps. They had to be removed
the old fashioned way. I used a 3 lb. hammer and chisel to preserve the blocks I wanted to keep and an 8 lb.
sledge to knock loose the ones I didn't keep.
We considered several ways of supporting the joists. The deck is 20 feet wide and extends about 24 feet
away from the house. Pressure treated lumber comes in lengths of 8 ft. to 18 ft. With advice from a
contractor friend of mine, I chose to break the width at 10 ft.
A double beam supports beneath the joists in the middle. A 2" X 6" supports beneath the floor joists at the
2" X 10" perimeter band. Posts are about 7" to 8" inches from the house. All are 4" X 4" set 18" in the
ground in concrete. They should last about 30 years.
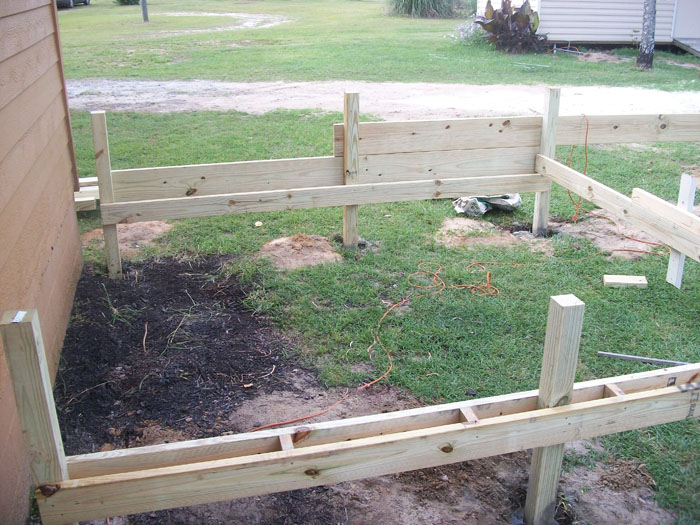
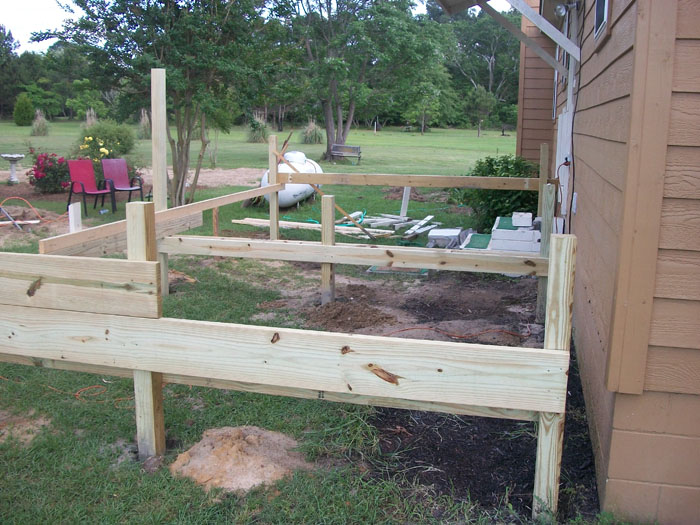
The boards you see anchored above the joist supports are temporary bracing that will be removed later.
I put these in place to help keep the posts square and plumbed. Keeping them square to each other while
square to the house was a real chore. They tend to twist and warp.
Here's an exterior view of the back steps removed.

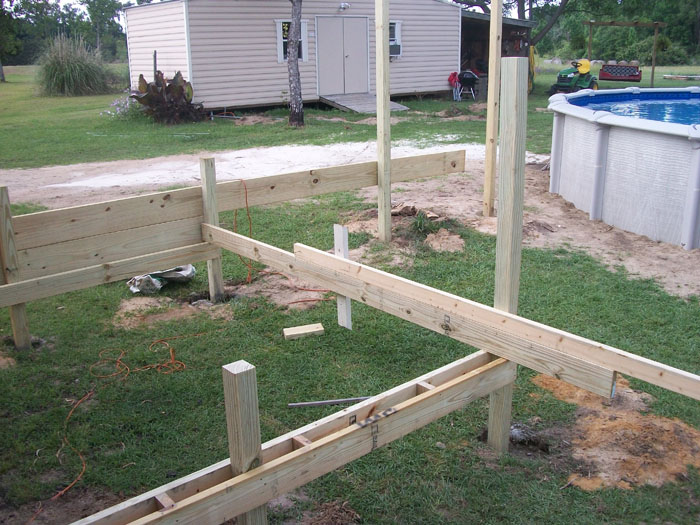
We used a post level as well as a 4 ft. carpenter's level to get the posts in place.
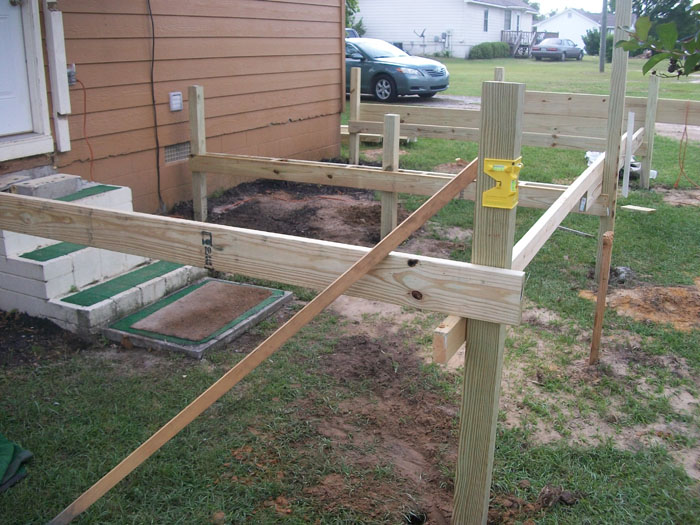
Here's a view from the pool after the first day's work.
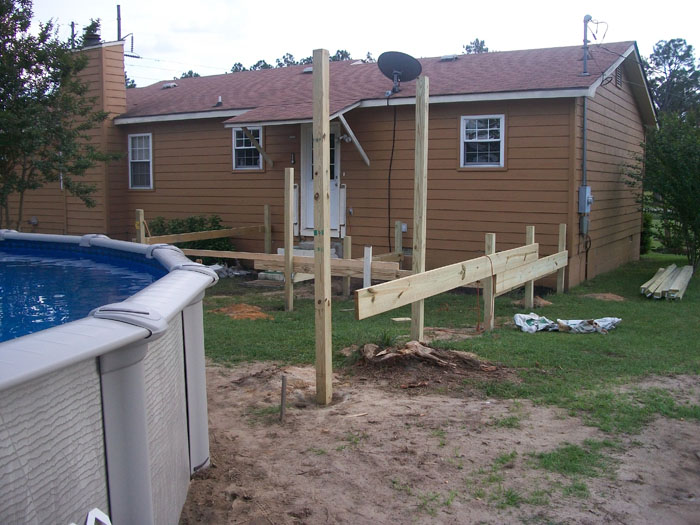
Linda and I had decided to build the deck on a split-level so the posts to the left are taller.
Please press your browser's back button then click the links for more.
~ END ~