2012-08-18 Ceiling Repair
Maybe some of you will remember the old pantry we began removing when we started this project a month ago. We decided to keep most of the wall on the left. The rest of it had to go.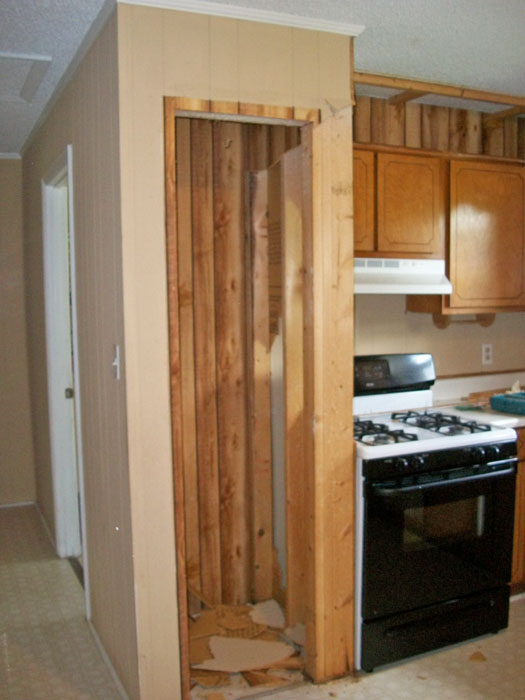
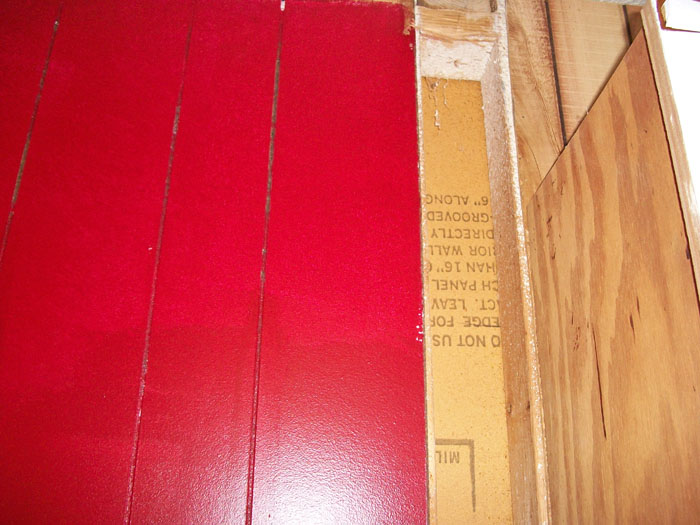
Linda had already begun painting the remaining kitchen and hall before I got around to repairing the old pantry wall. Removing the wall left this gaping hole in the wall. You can see the rear side of the paneling in the laundry room between these studs.
On an unfinished stud wall I'd just toenail in a few spacers to give me something to nail a strip of paneling to. This one is already finished on the laundry room side of the wall. That makes access for toenailing a little difficult.
Hey, that gave me an idea. I could use that panel on the other side of this wall for leverage.
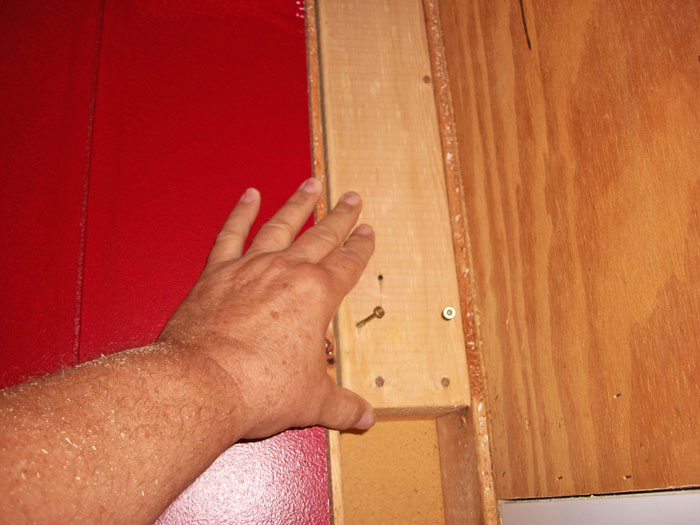
I was able to nail some spacers to a short piece of 2" X 4" that fit the hole nicely.

The spacers faced the opposite direction and pushed on the paneling already up on the other side of this wall.
They kept the short piece of 2" X 4" at the perfect depth in the hole so I could toenail it!
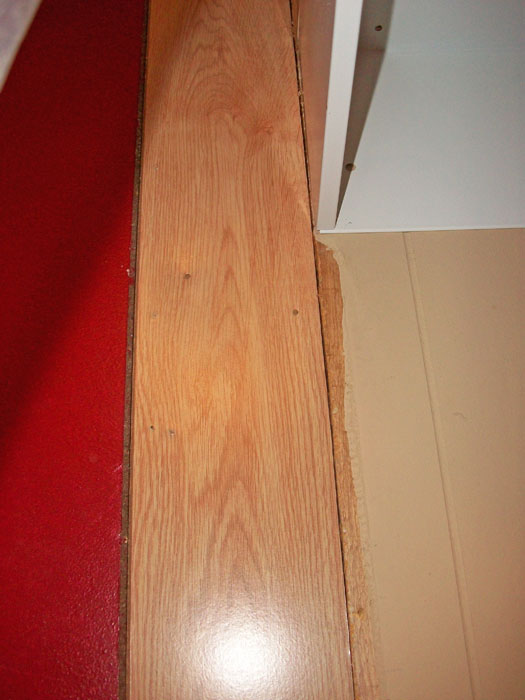
This gave me just the right surface to nail a 4 inch piece of paneling I ripped to cover it.
You can see the new red kitchen wall contrasted with the old brown paint on either side of this new piece.
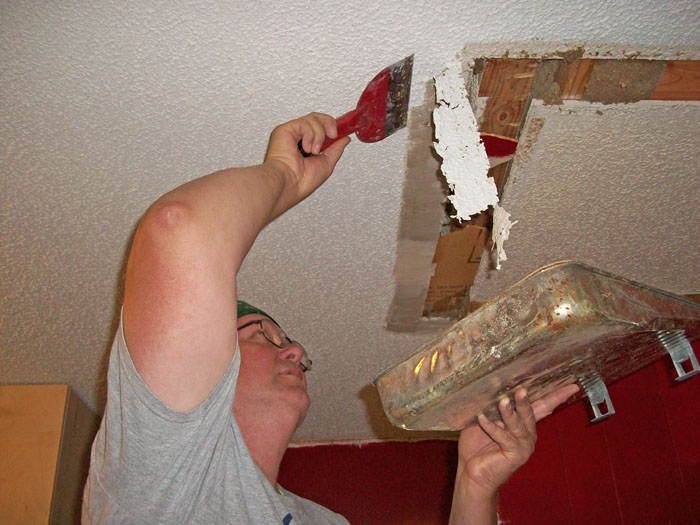
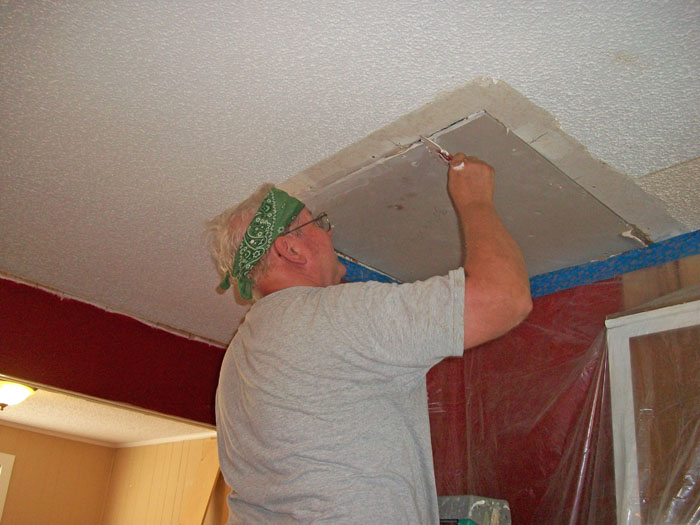
Next, I had to prep the ceiling by removing the old popcorn texturing and expose the drywall.
A YouTube video showed me how. Just wet the stuff with a spray bottle and wait a few minutes for it to soak.
It scrapes off easily into a pan with a 6" drywall knife.
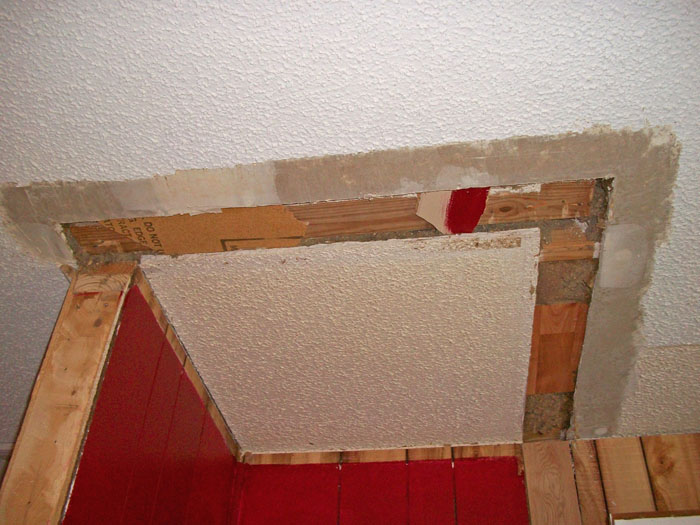
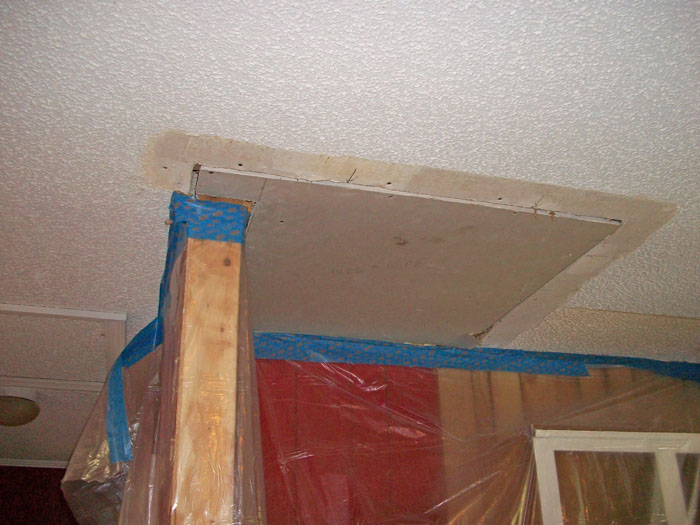
The edge of the sheetrock had to be clean to make the new joint. Now it was time to remove the old pantry ceiling.
But what to do with the 11 inches of blown insulation above it? You can see in the photo below how I stuffed all sorts of scrap pieces in the holes to retain the blown insulation.
We thought of several elaborate schemes for holding the insulation in place while removing the sheetrock.
A YouTube video suggested we just let the stuff fall and replaced it with paper backed insulation. How simple is that?
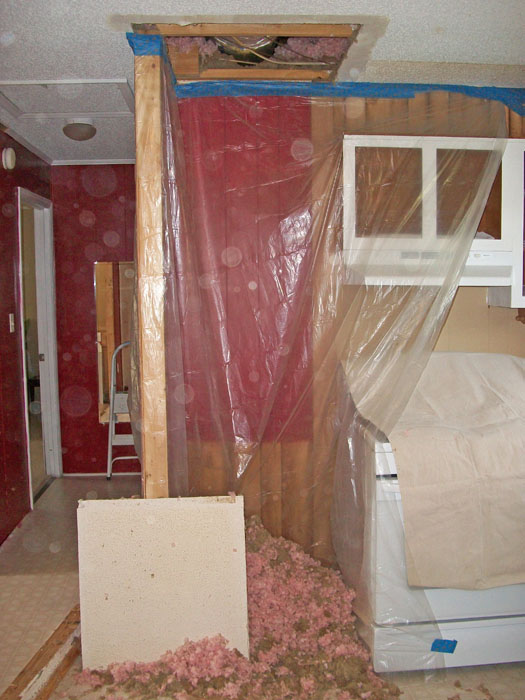
I prepared the area with a plastic drop clothe to maintain some control then down came the ceiling.
With it, down came enough insulation to fill 2/3 of a 55 gallon construction garbage bag.
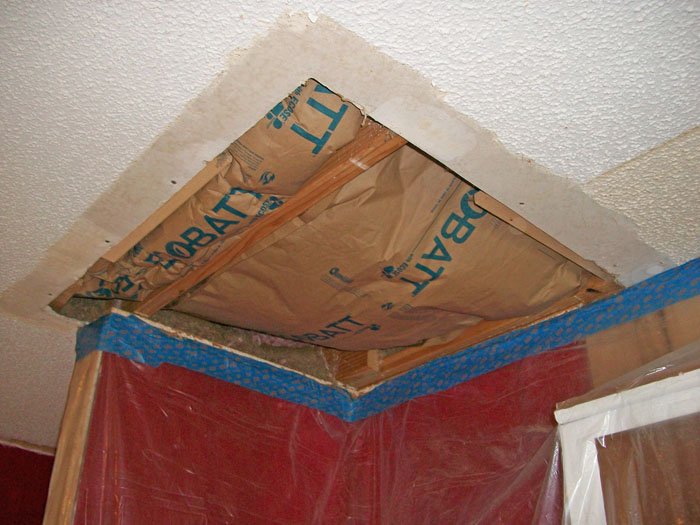
I first nailed up some 1" X 4" helper boards to give me something to nail to along the edges.
I marked the location of these boards and the ceiling joists with a pencil along the edges then laid the insulation in place.
I had pre-cut the 1/2" sheetrock and checked it for fit. All that remained was to secure it with drywall screws.
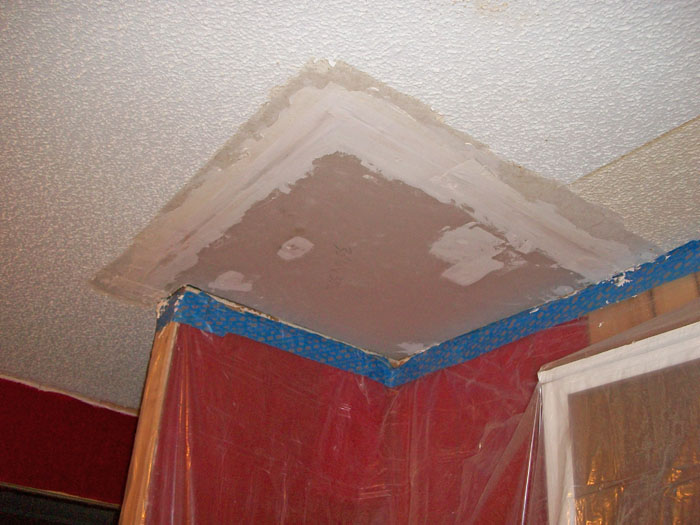
Next came the first layer of mud followed by tape then more mud. I'm not handy with anything liquid. I got it all over me.
The first layer done, now comes a 24 hour drying period. Since I finished on Saturday evening, this one will get an extra 24 hours 'til I can begin again Monday. Looks half way decent so far. Maybe this won't look so bad when finished after all.
By the way, there's an explanation for the yellowed ceiling at the right of the photo below.
When we first moved in this house we sprayed the entire ceiling in all rooms with 2 coats of Killz. It really brightened things.
Unfortunately, the yellowed ceiling shown here was behind the paneling I removed last month. It will have to be repainted.
~ Hit your browser's BACK button and go to the next page. ~