2012-07-14 BEFORE pics of Kitchen Renovation
Here's Linda's little kitchen. Not much counter space. There's not much we can do about that. But look at the wasted space above the top cabinets. More about that later.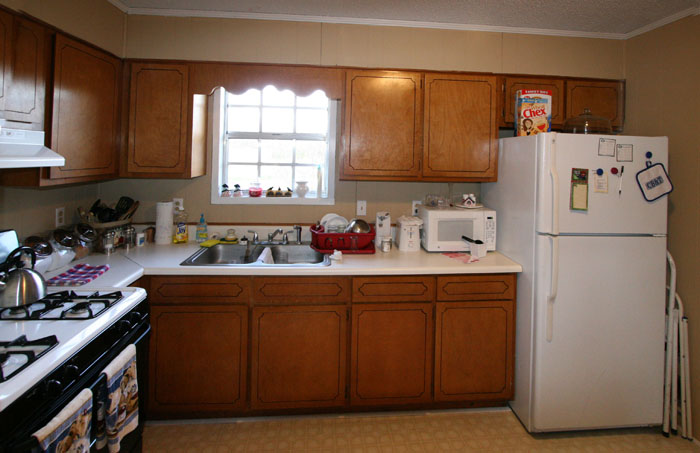
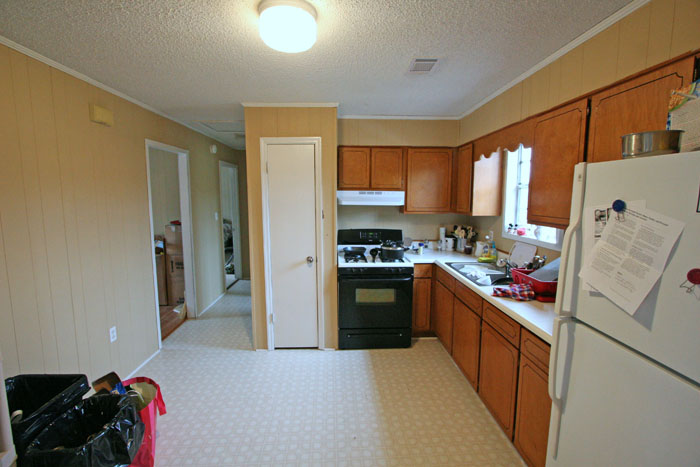
Here's a long shot taken not long after we moved in in 2009. It's a better view of the space above the cabinets, the small pantry (with the little door), and the narrow entry to the dining room, first doorway on the left down the hall.
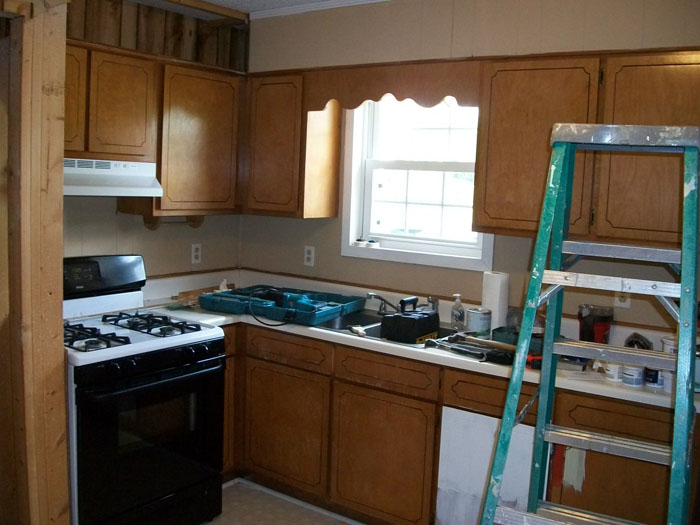
We removed the wall covering (1/4" paneling we painted over). The space behind it was perfect for a renovation.
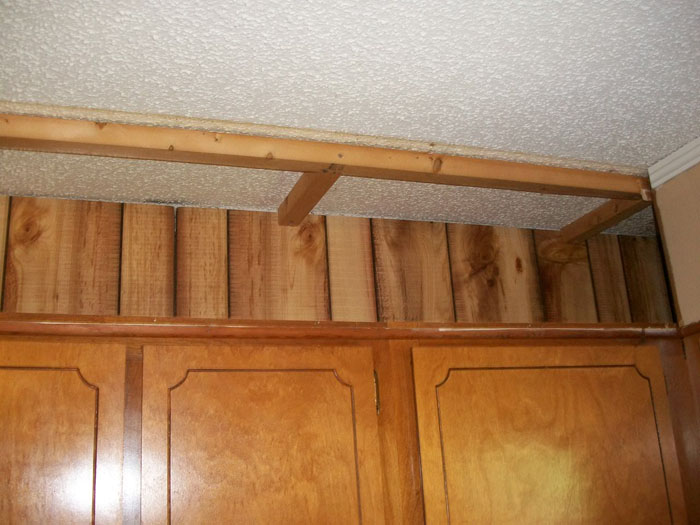
Here's a better view. There's nothing but a a skeleton of 2" X 2" boards. The ceiling is stained but intact. We can paint over it to correct that problem. This is as far as we got with that project. More pressing renovations needed our attention.
We were going to have to redo the cabinets anyway. So the pantry must be removed. To increase the limited counter space, Linda was thinking of putting more shelving here (to add space for small appliances) or putting in a lower cabinet (to add more counter space). She hasn't decided yet. Either way, the pantry must go. Unfortunately, the left wall has a 3-way switch that controls the kitchen light. To avoid extra expense, I convinced her we should leave that wall as-is.
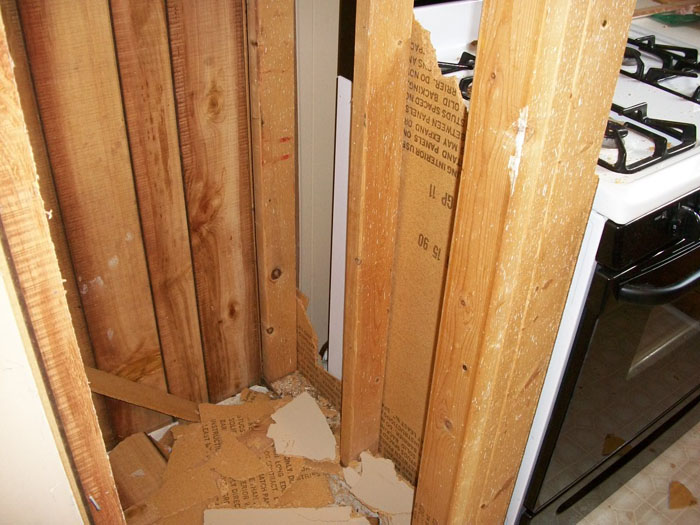
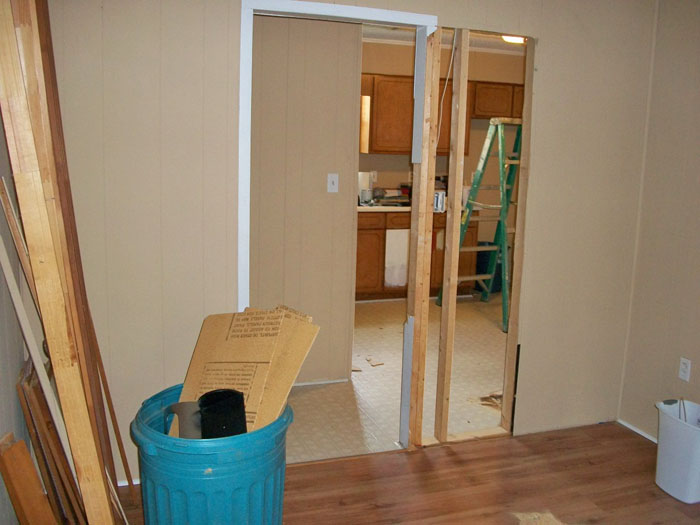
Next, demolition was the entry from the kitchen to the dining room. It was far too small. You can see it in this photo below as we're removing the paneling.
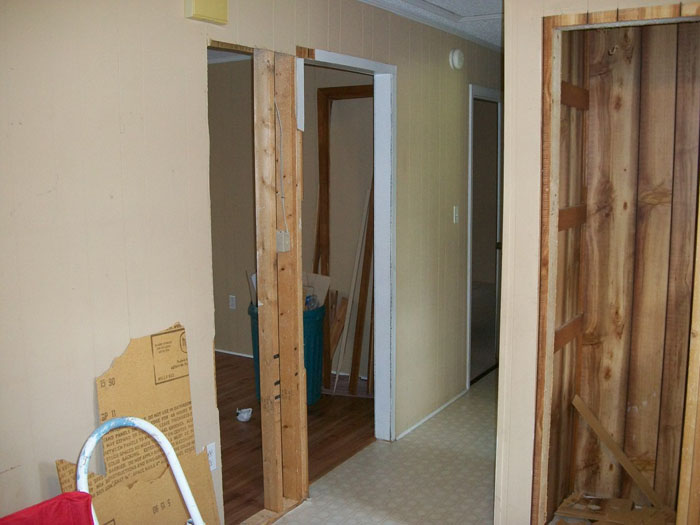
Here's a different view of the same wall as seen from the dining room. Notice the light switch to the right of the double studs. It's between the double studs and the single stud I've exposed. That had to be moved too. Fortunately, it isn't a 3-way. It's a simple move. For more on these projects, see our next page(s).
~ Hit your browser's BACK button and go to the next page. ~